
Bake The Book: Herbed Fougasse
 Oh my, where has the time gone? Studying for the PMP exam is taking over my life! While I have still been diligently baking something each weekend (not that it's a chore, it's really a way I de-stress) I am way behind on sharing my recent bread baking. I guess I'll start with the oldest one first and try to catch up!
Get out your stand mixers and try this one with me...
First though, you have to make a biga. What's that, you ask? Well, it's simply another pre-ferment like I made with the olive bread. Once you've made the biga and let it rest at least 4 hours, you can then get out your stand mixer.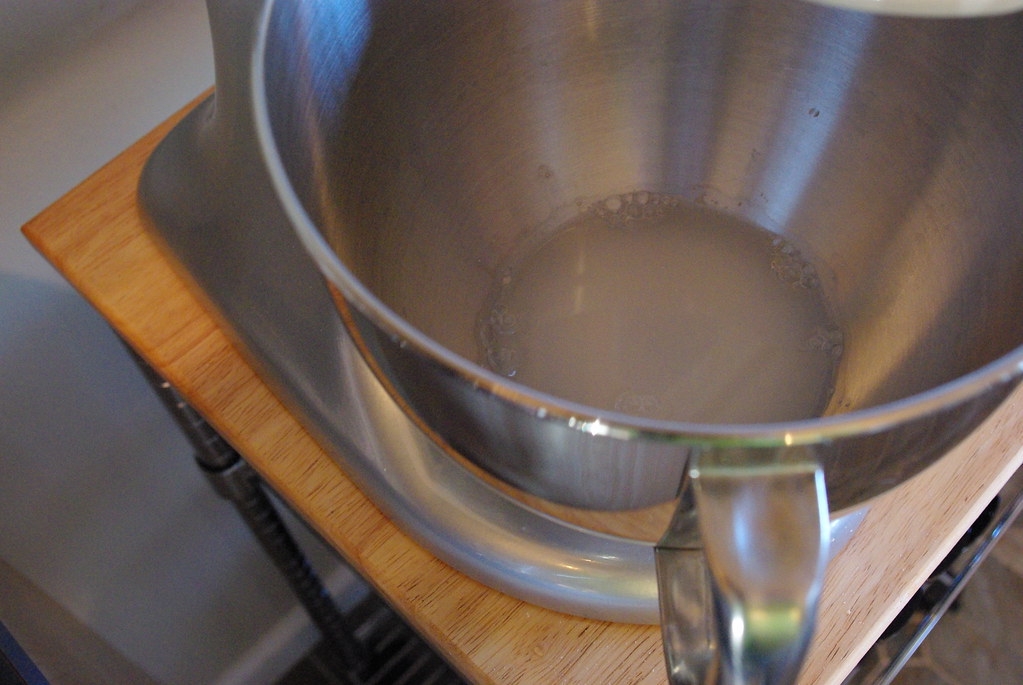
Blend your water and yeast and while that's percolating, give your fresh rosemary and thyme a nice chop.
After the yeast is activated, you'll add the rosemary, thyme, biga, olive oil, flour and salt to your yeast mixture and knead away. Thank goodness for the wonderful stand mixers. All that kneading would make the ol' hands hurt.
Then, of course, you should do all the normal stuff, like let the dough rise, etc., etc. The really fun part with this bread comes in when you get to make a shape out of it. Once it's risen, you press it into a half circle and let it rest for a bit. Then you get to cut leaf-like shapes out of it. Kind of abstract and artsy...how fun! The holes I cut out sorta ended up closing up during baking, but I don't think they're supposed to be super pronounced.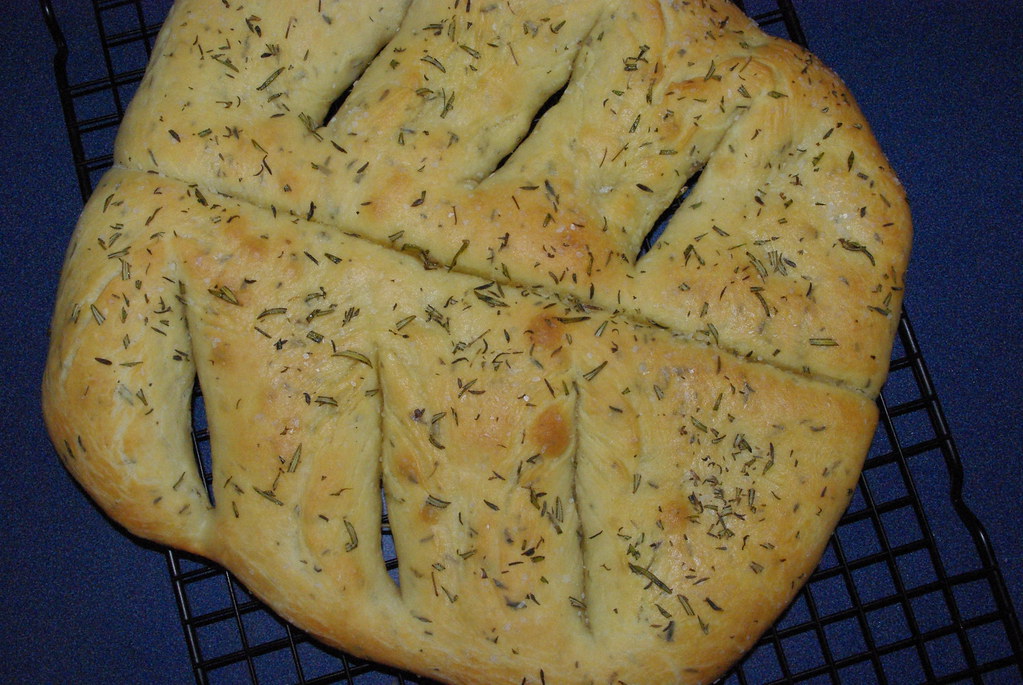
The fougasse had a more chewy quality about it. Nate and I both really enjoyed the salt and herbs sprinkled on top.
Recipe #5: Herbed Fougasse
Ingredients
Biga (Pre Ferment)
1/2 cup warm water
1/4 teaspoon active dry yeast
1 cup minus 1 tablespoon bread flour or unbleached all-purpose flour
Dough
1/2 cup warm water
1/2 teaspoon active dry yeast
2 tablespoons olive oil
1 1/4 cups plus 1 tablespoon bread flour or unbleached all-purpose flour
1 1/2 teaspoons finely chopped fresh rosemary
1 teaspoon finely chopped fresh thyme
1/2 teaspoon salt
1 tablespoon olive oil
1/2 to 1 teaspoon kosher salt or coarse sea salt
1 teaspoon freshly chopped mixture of fresh rosemary and thyme
1. Make the biga: Pour the warm water into the medium bowl and whisk in the yeast. Let the mixture stand for 10 minutes, or until the yeast is activated and looks creamy. Stir in the flour and mix until it forms a rough dough. Turn onto a work surface and knead until smooth and elastic. Return to the bowl, cover with plastic wrap, and set aside for 4 to 6 hours at room temperature, or 24 hours in the refrigerator.
2. Make the dough: Pour the warm water into the bowl of the stand mixer. Add the yeast, whisk by hand to blend, and let the mixture stand until the yeast is activated and looks creamy, 5 to 10 minutes. Add the biga and the olive oil and mix on low speed for 1 minute. Add the flour, rosemary, thyme, and salt. Knead the dough on low speed until it comes together in a cohesive mass, about 2 to 3 minutes. . Cover the bowl with plastic wrap and let the dough rest for 20 minutes to allow it to fully hydrate before further kneading. Turn the mixer to medium-low and continue to knead until the dough is firm, elastic and smooth, 4 to 6 minutes.
3. Lightly oil a bowl, scrape the dough into the bowl and lightly cost the surface of the dough with a little oil. Cover the bowl tightly with plastic wrap and let the dough rise until doubled, about 1 1/2 to 2 hours.
4. Turn the dough out onto a lightly floured work surface. Press down on the dough firmly to expel some of the air bubbles, but don't knead the dough again or it will be too springy and difficult to shape. Transfer the dough to a prepared baking sheet. Press the dough into a large half circle that is about 12 inches across the flat bottom, 11 inches tall at the peak of the circle, and about 3/8 inch thick. Let the dough rest, covered, for 10 to 15 minutes. To make the design in the dough, use a very sharp paring knife to make a slit down the center, then two or three slits at an angle on each side of the center so they resemble the veins in a leaf. Each slit should go all the way through the dough to the baking sheet. Gently stretch each slit so the cut edges are about 1 1/2 inches apart, making decorative holes in the dough.
5. Cover the dough loosely with plastic wrap or a cotton towel and let rise until almost doubled in size, 30 to 40 minutes.
6. Preheat the oven to 425 degrees and position an oven rack in the center.
7. Dimple the dough by gently pressing your fingertips into the dough about 1/4 inch deep, taking care that you don't deflate the dough by pressing too vigorously or making too many indentations. Gently brush the surface of the dough with the olive oil. Sprinkle the salt and chopped herbs evenly over the top. Bake for 20 to 25 minutes, until the bread is golden brown and the internal temperature registers 200 degrees. Transfer to a cooling rack. Slice the bread with a serrated knife or simply let guests tear off pieces.
Source: The Art and Soul of Baking
1 comments:
Hmmm! That looks yummy! I will have to try that. I think Rusty and I would enjoy it!
Post a Comment