Bake The Book: Apricot, Almond, and Chocolate Spiraled Coffee Cake

Talk about a recipe with a lot of steps! This one is kind of time consuming, so make sure if you're going to make the commitment, you block out the time for it. You could always make the dough and refrigerate overnight and then make the coffee cake the next day.
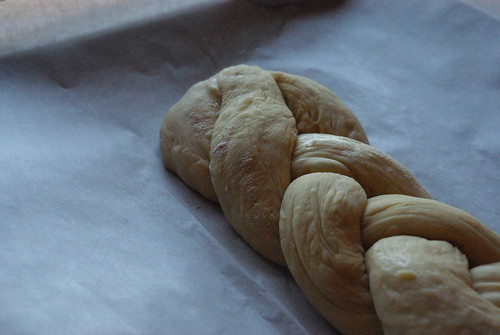
Once you get past the dough making stage, the rest is fun. You get to play with fillings!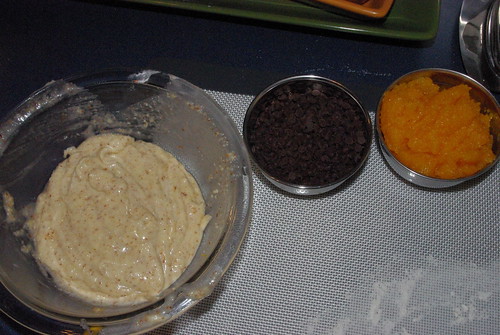
Aren't the fillings pretty and colorful? For those of you that aren't familiar with almond paste, it is so good. Think the smell of almond extract. Yum.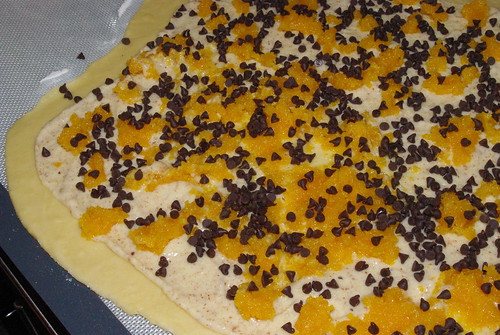
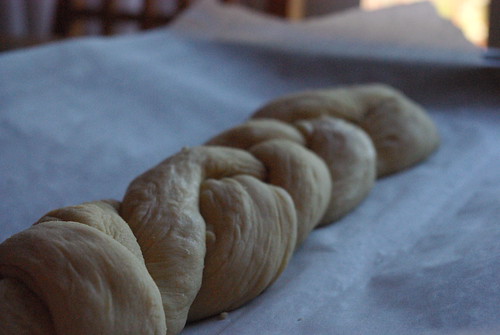
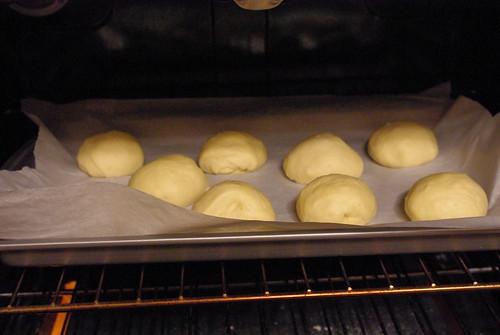
Here's the coffee cake as it's ready to go in the oven. Looking back, I think the sections were supposed to be laid almost flat per the directions, but this worked okay too.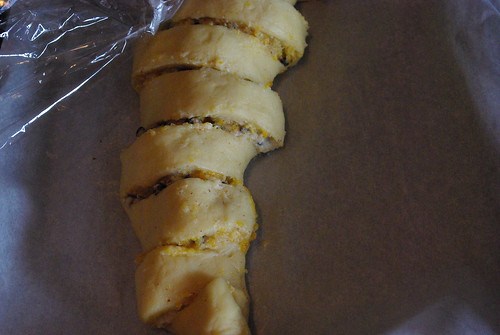
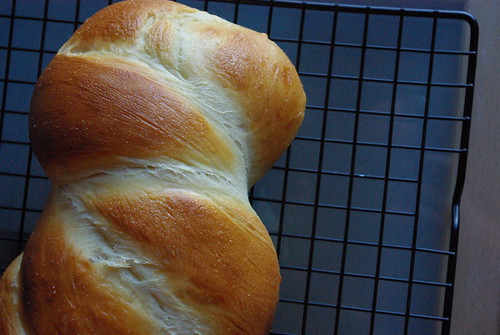
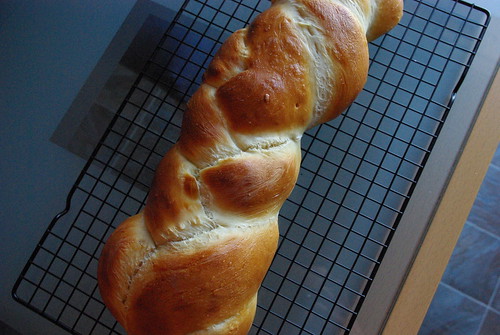
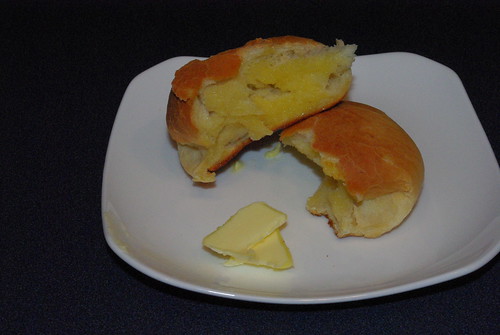
And the finished product. It was very tasty. I was a little worried about the apricot and chocolate combination, but the two ingredients complimented each other nicely.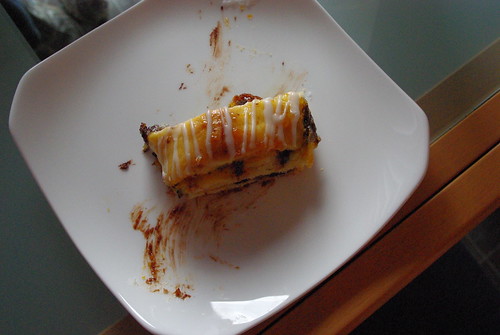
Recipe #10: Apricot, Almond, and Chocolate Spiraled Coffee Cake
Ingredients
1 recipe Rich Breakfast Dough (see below)
Filling
8 ounces dried California apricots
3 tablespoons water
3 tablespoons amaretto
7 ounces almond paste, at room temperature
1/2 cup granulated sugar
3/4 stick unsalted butter, softened
1/2 cup mini semisweet chocolate chips
Apricot Glaze
3 tablespoons apricot jam
1 tablespoon water
Sugar Glaze
1/2 cup unsifted confectioners' sugar
1 teaspoon warm water
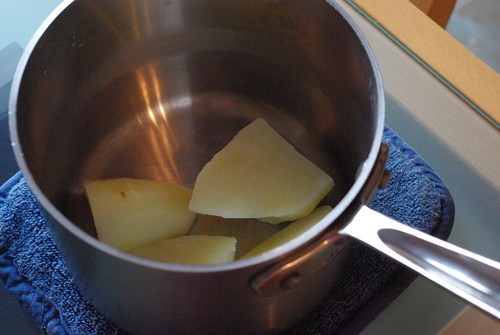
1. Plump the apricots for the filling: Place the apricots in the bowl of a food processor and process until they are chopped into tiny pieces (or use an oiled chef's knife to chop them very finely). In a small saucepan, heat the water and amaretto over medium heat just until it begins to simmer. Remove from the heat and add the chopped apricots. Let the mixture sit for about 5 minutes, stirring several times with a spatula, until the liquid has been completely absorbed. Transfer to a medium bowl to cool while you prepare the rest of the filing.
2. Make the filling: Cut or break the almond paste into 12 to 15 pieces. Place the almond paste and granulated sugar in the bowl of a food processor and process for 10 to 15 seconds, until the almond paste is cut into tiny pieces. Add the softened butter and process for 25 to 30 seconds, until the mixture is blended and smooth and forms a large ball. The filling will be very thick.
3. Shape the dough: Turn the dough out of the bowl onto a work surface dusted with flour. Press firmly to expel some of the air bubbles, but don't knead the dough again. Dust the dough with flour and roll into an 11 by 15-inch rectangle. Position the dough so that one of its long sides is parallel to the edge of your work surface. Brush any remaining flour from the surface and underside of the dough. Spread the almond filling in a thin layer over the dough, leaving a 1-inch border along the long side of the dough opposite you. Sprinkle the plumped apricot pieces over the filling as evenly as possible. Do the same with the mini chocolate chips.
4. Roll up the dough: Beginning with the long edge closest to you, roll the dough into a cylinder, gently tucking and tightening as you go. Wet your fingers and rub a thin film of water along the empty border. Finish rolling the dough onto the border. Roll the dough backwards so that the seam is facing upward and pinch all along it to seal the dough. Turn the seam to face awwy from you and, using the tip of a chef's knife, cut the dough into slices at 1 1/2-inch intervals, cutting only 3/4 of the way across the roll so the seam and is still intact--all the slices should be attached along a "spine." Gently lift the log of dough and center it on the prepared baking sheet, seam or "spine" down. Gently twist each slice away from the spine and lay it nearly flat on the sheet (the slices will overlap slightly and won't lie completely flat). Alternate the direction of the twists, one slice to the right, one slice to the left, until you reach the end. At first it will seem as though the roll is too long for the pan, but keep overlapping and you'll find you have room at the top and bottom of the coffee cake.
5. Proof the dough (second rise): Cover the dough loosely with plastic wrap and let rise until almost doubled in size and looks like it has taken a deep breath, 40 to 60 minutes.
6. Bake the coffee cake: Preheat the oven to 375 degrees and position an oven rack in the center of the oven. Bake the coffee cake for 20 to 25 minutes. until golden brown on the top and bottom (check the bottom by lifting the coffee cake slightly with a large metal spatula). Transfer to a cooling rack.
7. While the pasty is baking, make the apricot glaze: Heat the apricot jam and water a small saucepan over medium-low heat, stirring with a silicone or rubber spatula to blend, until hot and fluid. When the cake is out of the oven and on the rack, rewarm the glaze and brush it over the cake. Cool for 15 minutes, then apply another layer of the glaze. Allow the coffee cake to cool an additional 20 minutes before adding the sugar glaze.
8. Make the sugar glaze: In a medium bowl, stir the confectioners' sugar and warm water vigorously with a silicone or rubber spatula until there are no lumps remaining, adding a few more drops of water if needed. Use a fork to drizzle the glaze over the pastry, or transfer the glaze to a resealable plastic bag and squeeze it into one corner. Snip off the corner with a pair of scissors ans pipe lines decoratively across the coffee cake. Use two spatulas or a cake lifter to transfer the coffee cake to a serving platter. Serve warm or room temperature. Let guests tear off rolls, or slice with a serrated knife.
---------------------------------------
Rich Breakfast Dough
Ingredients
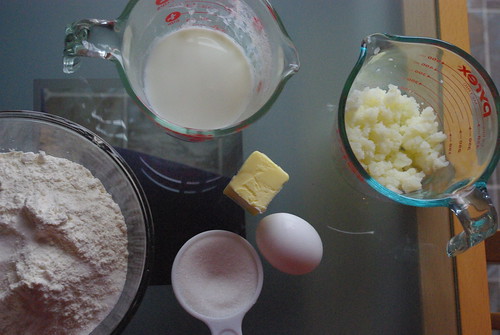
1/2 cup warm whole milk
1/4 cup sugar
1 1/2 teaspoons active dry yeast
1 large egg plus 1 egg yolk, at room temperature
2 1/2 cups bread flour
1/2 teaspoon salt
1 stick unsalted butter, very soft
1. Mix and knead the dough: Combine the warm milk and sugar in the bowl of the stand mixer and sprinkle the yeast over the top. Whisk by hand to blend well. Let the mixture sit for 5 to 10 minutes, until the yeast is activated and foamy or bubbling. Add the egg and yolk and whisk by hand until well blended. Stir in the flour and salt with a silicone or rubber spatula. Attach the dough hook and knead on low speed for 2 minutes. The dough may look ragged at this point, but don't worry--the addition of butter will smooth it out. Increase the speed to medium and knead for 1 minute. With the mixer running, add the soft butter, 1 tablespoon at a time, allowing each addition to blend in before adding the next. Once all the butter has been added, decrease the speed to medium-low and continue to knead for 5 to 6 minutes longer, until the dough looks soft and silky.
2. Rise the dough (first rise): Lightly butter a bowl, scrape the dough into the bowl, and brush the surface of the dough with a little butter or oil. Cover with plastic wrap and let the dough rise until doubled, 1 to 1 1/2 hours. At this point, the dough is ready to be punched down and used in your recipe of choice.
Source: The Art and Soul of Baking